Attention Windows 11 users! Are you eager to know how to record your screen on Windows 11? Whether you're looking to create tutorial videos, capture gameplay, or troubleshoot software, screen recording on Windows 11 can meet your needs. In this article, you are provided with three different ways to show you how to record screen on Windows 11. Let's see what they are and choose your favorite way.

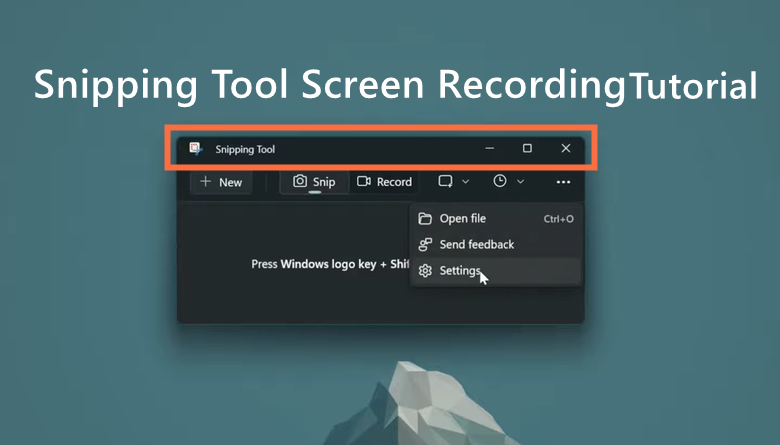
How to Record Screen on Windows 11 via Snipping Tool
In Windows 11, Microsoft offers an improved Snipping Tools application. It's a simple application that many of you are already familiar with. But in the previous version of Windows, the Snipping Tool could only be used to take screenshots but not to record the screen. If you want to record screen on Windows 10, you need a screen recorder for Windows 10. But now you can easily use this Snipping Tool in Windows 11 to make screen recordings.
It's worth noting that the Xbox Game Bar can't record the desktop or file explorer, only the applications that are active when you start recording.
Follow the steps below to see how to record screen Windows 11 using the Snipping Tool.
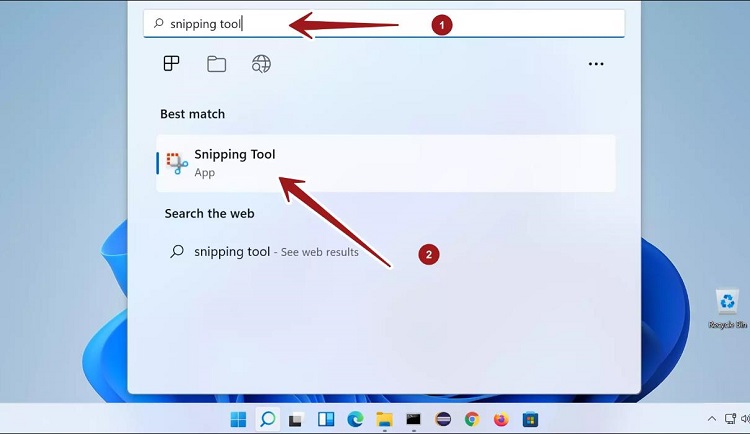
Step 1. Type snipping tool in the search bar and click the best match result to open the Snipping Tool app.
Step 2. Select the Record mode in the toolbar at the top of the app to record your Windows 11 screen.

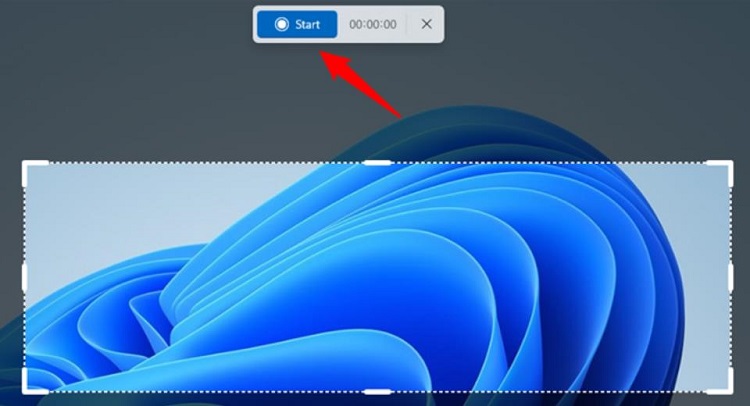
Step 3. Next, click the + New button in the upper left corner. The Snipping Tool will gray out the entire screen, at which point you will need to draw a rectangular record area on Windows 11 with your mouse or touch. After selecting the recorded area of Windows 11, click Start to record.
- These are the steps you must follow on how to record your screen on Windows 11 with the Snipping Tool. You cannot use the Windows + Shift + S shortcut to start recording your screen on Windows 11.
- When you press the Stop button to end the recording, the Snipping Tool opens the main window and automatically loads the screen-recorded video. Snipping Tool does not provide video editor and you cannot scale the video. All you can do is play the recorded video to see the final result.
How to Record Screen Windows 11 via Xbox Game Bar
Want to know how to record my screen on Windows 11? The second method is to use Xbox Game Bar. Xbox Game Bar is a built-in feature of Windows 11 that provides users with a variety of tools and features to enhance their gaming experience. With Xbox Game Bar, you can effortlessly take screenshots and record screen on Windows 11. Follow the steps below to learn how to record screen on Windows 11.
Step 1. To open the Xbox Game Bar, press the keyboard shortcut Windows + G, or search for it in the Start Menu.
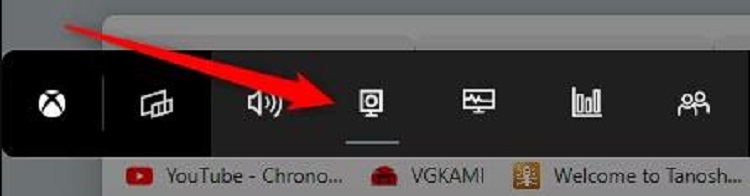
Step 2. Select the Camera icon to open the Capture window Here, you can choose to record your Windows 11 screen as a video or a screenshot.
Step 3. When you are ready to record, click the Record button with the solid white circle.
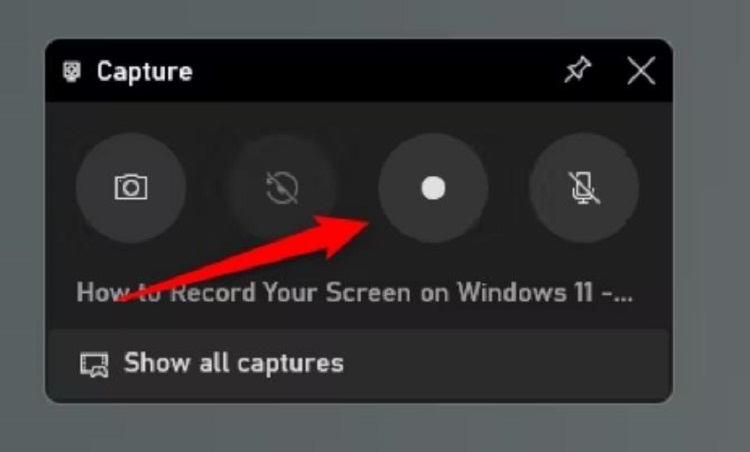
When the recording is complete, click the Stop button. To find your recordings, click Show all captures at the bottom of the Capture window.
How to Record Screen in Windows 11 via Professional Recording Tool
It's a great pity that neither of the above methods is the perfect way about how to record screen on Windows 11. The first method can't edit the recorded video and the second method is not applicable with recording Windows desktop and File Explorer.
Don't worry, the third one is the best way to record screen on Windows 11. With professional screen recording software – iTop Screen Recorder, you can easily record all the activities on Windows 11. Whether it's on the web or on the desktop or in a game. Its powerful features make your recording and editing process smoother and easier.
Full-Featured Windows 11 Screen Recorder with 4 Recording Modes
This free screen recorder offers 4 modes to easily and quickly record screen, webcam, audio and game. You can choose to record screen activity while recording yourself through the webcam.
Flexible selection of recording area on Windows 11
iTop Screen Recorder allows you to record the whole screen, window, browser or record part of screen or choose a fixed ratio such as 16:9, 4:3, or 1:1 to record the screen. You can also lock and record a specific window only.
Record Windows 11 screen with no lagging
iTop Screen Recorder's CPU utilization averages only 8% and it records smooth HD videos without lagging. You can enjoy extremely smooth screen recording when capturing 1080p 60 fps, 4Kvideo on Windows 11 PC.
All-in-one video and audio editor
iTop Screen Recorder has a built-in video editor that helps you create personalized video and audio. You can trim, split video and combine video tracks by simply clicking. It allows you to add text, stickers, effects, and subtitles to your videos to make them more informative.
Step Guide to Record Screen on Windows 11 with Audio
Let's see how to record screen on Windows 11 with audio via iTop Screen Recorder.
Step 1. Download and install iTop Screen Recorder for Windows 11 for free, it is also compatible with Windows 10, 8 and 7.
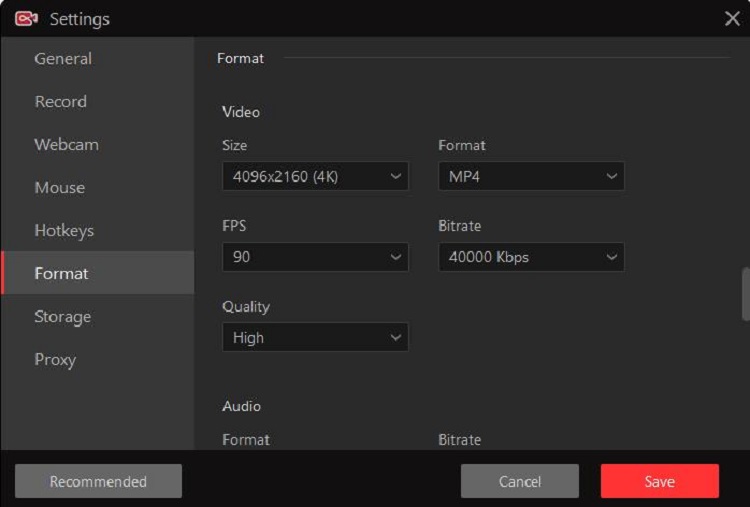
Step 2. Set preferences to record Windows 11 screen.
Launch iTop Screen Recorder. Go to Settings and customize if necessary. For example, if you want to adjust the video parameters, click Format > Video, and then you can set the Size (resolution), Format, Frame Rate, Bit Rate, and Quality.
Step 3. Start recording screen on Windows 11.
In the Record tab, click the drop-down arrow to select the recording area. Then select the sound you want to record on the right. Click the red REC button when the settings are complete.

There is a mini control bar during recording. You can use arrows, shapes to highlight content or add text as comments during recording. Recorded files are automatically saved in File > Video. You can click the Edit button to launch the video editor to customize your video file.
If the recorded file is too large, you can also use its built-in compression tool to compress the video size without losing quality, thus saving you a lot of space on your computer.
The Bottom Line
This article provides you with a total of three options on how to record screen on Windows 11. You can choose the most suitable one to use according to the situation at the moment. But in the long run, iTop Screen Recorder will be your best helper for screen recording tasks. You can record Windows 11 screen with just a few clicks and also edit the recorded file directly. Download this HD screen recorder now to use it to record your screen in Windows 11 and share the content with others.