UberConference Dialpad is a tool owned by Dialpad that makes it easier for businesses of all sizes to host meetings both with their team members and clients. In the workplace, different kinds of meetings are held every day. Some meetings require you to transcribe them so you can convey the purpose, goals, and message of the meeting better. For that purpose, you need to know how to record UberConference calls so that you can transcribe them later for easier conveyance.
In the following context, you will be introduced to two of the best methods to transcribe meetings; one being the UberConference record meeting tool.
Things You Should Know About UberConference
Before moving on to know how it works, this part will first discuss what is UberConference. UberConference is an audio conferencing tool that lets you hold meetings from any place. Participants, whether your clients or team members, can also join the meetings from any place. The tool also offers UberConference free for people who don’t want to pay money but it comes with limited offerings and services.
Businesses, organizations, or companies that have team members working remotely or clients from every part of the world use UberConference call regularly. Here are the features that UberConference offers.
- UberConference is free
- It is flexible
- Provides a visual representation of all participants
- Built-in file sharing, screen sharing, and other collaboration tools
- Let you integrate other platforms
Despite the powerful features that it provides, it is only a tool for audio calls. You cannot make video calls with it and if you need to, you will have to use other video conferencing tools.
Why Need to Transcribe UberConference Calls?
There are many reasons why people want to record UberConference or transcribe its calls. The most obvious reason for transcribing UberConference calls is that all the essential information provided in a long call can be found quickly. Secondly, transcribing calls enhances transparency. Members of your team who cannot hear can know what was being said in a call by transcribing it. Transcription also helps you research the important points in the call so that you can prepare yourself for the next call in the best way possible.
As an audio conferencing tool, UberConference is used by businesses all over the world but to transcribe the calls made via UberConference, you first need to know how to record UberConference. Now you will learn the different methods to record UberConference.
How to Record UberConference?
As has already been mentioned, you need to know how to record UberConference to be able to transcribe the calls. In that regard, there are two ways to record UberConference. You will know more details in the following sections.
Record UberConference with Its Inbuilt Feature
The first method to record UberConference is by using its built-in feature. With UberConference, you can record both audio and video but if you are using the free version, you will only be able to record audio with it.
Here is how to record UberConference with its built-in feature.
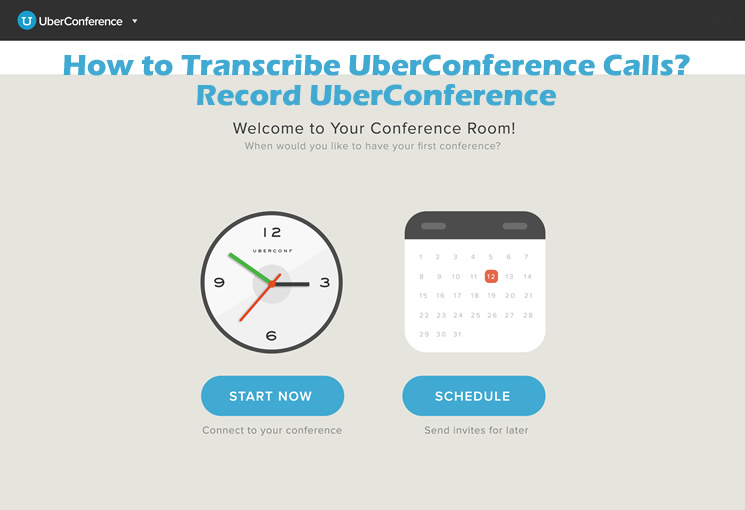
Step 1. UberConference login.
UberConference login is the first thing you need to do. If you have a paid account, set it up and if you have a free account, you will have to use pin codes to add participants to the call.
Step 2. Start the call.
Now that you have set up your account, you can start the call and add participants to it.
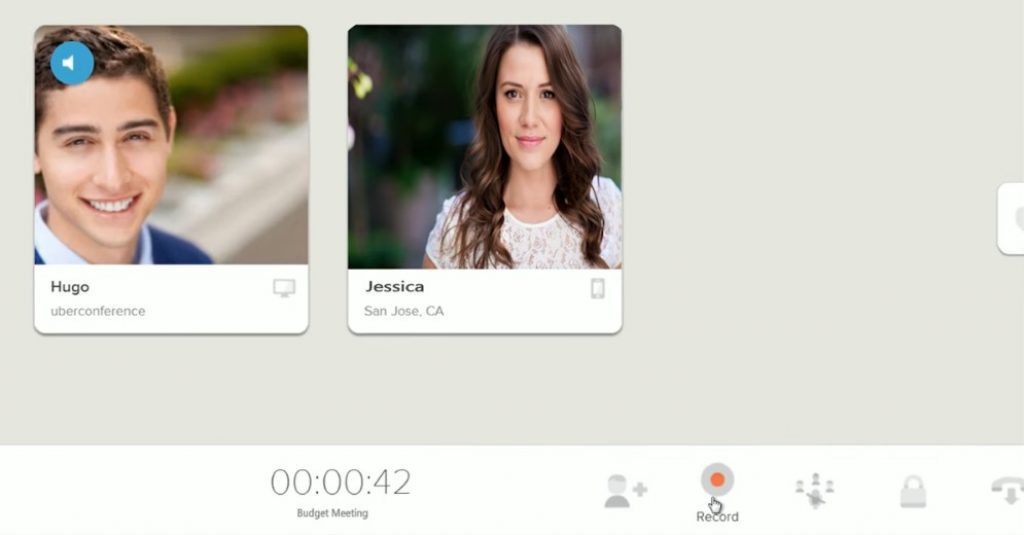
Step 3. Record UberConference.
Start recording by just clicking on the red record button on the screen. When you are done recording, you can save it to your device so that you can listen to it later.
Recording your UberConference calls using this method is easy but it gets a bit complicated when you are using its free version as you have to add the participants by adding pin codes. The paid plan of UberConference costs a bit more and when you want to record the calls, you may have to pay extra money. Also, with UberConference, you can only make audio calls so recording video calls with it is illogical. This is why you need to look for an alternate method to record UberConference. Fortunately, you don’t have to look any further. Here is the best alternative to UberConference to record UberConference.
Record UberConference with Screen Recorder
iTop Screen Recorder is a free and easy-to-use screen recorder that does much more than just that. It is the best screen recorder for PC without watermark and it has been built professionally to help people record their audio and video calls efficiently. The best thing about iTop Screen Recorder is that it is much more than just a screen recorder. With this professional tool, you can record videos, take screenshots, and edit them at the same time with the built-in video editor.
Benefits of Recording UberConference with iTop Screen Recorder
Here are the benefits of this screen recorder provides.
Record Meetings with both Computer Audio and Microphone
Combining audio from different sources is always an issue and in the case of video recording, it becomes even hard but not anymore. iTop Screen Recorder lets you record audio from multiple sources at the same time into a single audio recording. You can use this recorder to record meetings with audio coming from both the microphone and the system so that you don’t miss out on anything.
Record UberConference with 4K Ultra HD
iTop Screen Recorder lets you capture video Windows 10 in different qualities and formats. You can record UberConference in 4K Ultra HD quality or any other quality of your choice. You can set the FPS preferences and it will record your videos with that specification. At the end of the recording, you have the ability to save the file in any video or audio format of your choice with this HD screen recorder.
Add a Webcam Overlay to Record UberConference
While using iTop Screen Recorder to record UberConference, you can also add a webcam overlay and record that as well. This way, you can record yourself and your voice along with the conference call. When you are recording your webcam, you can also choose whether or not you want to record audio coming from the webcam.
Able to Record UberConference Without Time Limit
Most other screen recorders have a time limit that you cannot exceed when you are recording UberConference but not iTop Screen Recorder. With this tool, you record your calls no matter how long they are without ever worrying about the recording being stopped earlier.
Free and Easy-to-Use to Record UberConference
iTop Screen Recorder is free, very easy to use and offers the most extensive features. After recording UberConference, you can save the audio or video to your local storage. It even offers you a built-in screen recorder that you can use to edit video after recording.
How to Record UberConference with iTop Screen Recorder?
Here is a three-step process to record UberConference using iTop Screen Recorder.
Step 1. Download the app.
Download this screen recorder Windows 10 to your PC by visiting its official website or by clicking on the download button below. Then install it on your PC and launch it.
Step 2. Set up your preferences.
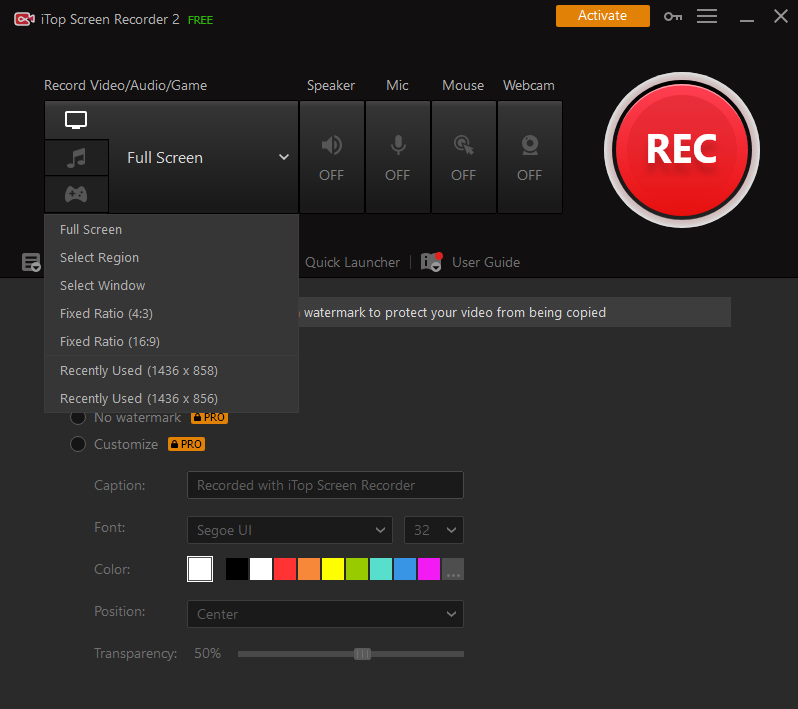
Now, it's time to set the video quality, audio sources, output format, FPS, and other settings that you would like to change before recording.
Step 3. Record UberConference.
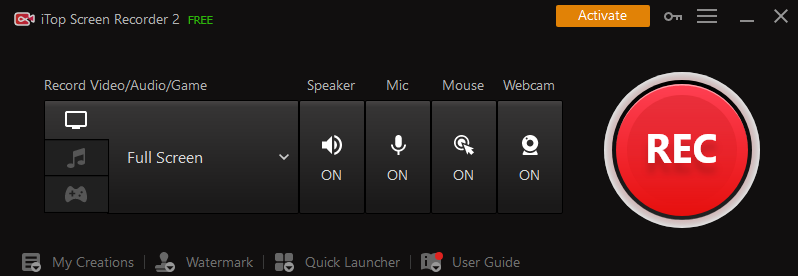
Start your UberConference call and click on the record button from iTop Screen Recorder toolbar to start recording. When you are done with the meeting, just click on the stop button and save the file to your computer.
When you are done recording, the file will be shown on the iTop Screen Recorder timeline. You can click on this file to edit the video with the built-in video editor. You can add additional audio layers, effects, and transitions, and carry out cuts and trimmings. Download iTop Screen Recorder if you want to enjoy all those benefits.
The Bottom Line
UberConference is a popular audio conferencing tool that is used by different businesses to keep in touch with their clients and teams. The need for transcribing UberConference calls arises because of the benefits that transcribing calls provides. To transcribe, you first need to record UberConference and there are two ways you can do that. The first is by using the built-in UberConference tool with limited features and the second is using iTop Screen Recorder which is free, easy to use, unlimited, and offers a lot of other features. So, download and install iTop Screen Recorder now.