Have you ever tried to capture a key chart from Udemy, only to end up with a frustrating black screen? It’s a common issue on Udemy when you want to save diagrams, slides, or short code snippets for later review. Many users quickly realize that the usual “Print Screen” shortcut doesn’t work as expected. This happens because Udemy uses built-in DRM protection, which blocks standard screenshot methods from accessing the video layer directly.
If you’re searching for how to screenshot Udemy without running into that problem, there are several reliable ways to get around it while still staying within reasonable use. In this guide, you’ll find 5 easy methods that actually work and help you capture clear, usable images for study notes or quick reference. Keep reading and pick the one that fits your setup best.

Way 1. Disable Hardware Acceleration
Sometimes, when trying to capture a frame from an online Udemy course, Udemy video screenshot black issue occurs instead of showing the actual content. This usually happens because your browser is using GPU-based rendering, which can block screen capture. By turning off hardware acceleration, the browser switches to software rendering, making it easier to grab a clear image. This is the first step before you figure out how to screenshot Udemy content without running into display issues.
Step 1. Open your browser settings (for example, in Chrome, go to Settings > System).
Step 2. Find the option labeled “Use graphics acceleration when available” and toggle it off.
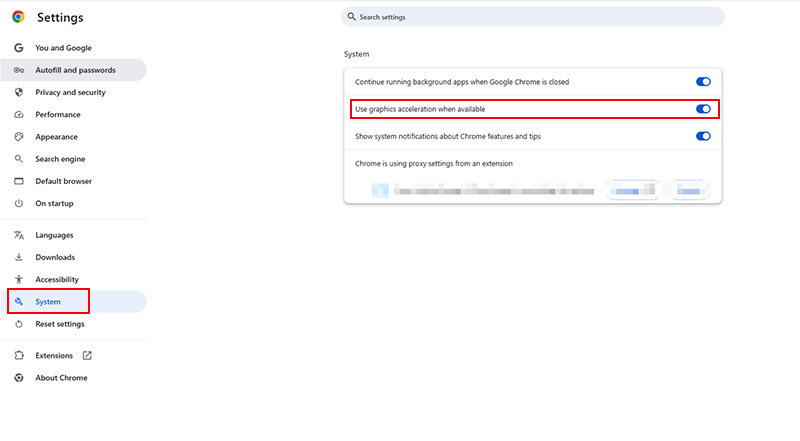
Step 3. Restart your browser, reload the Udemy course page, and try taking the screenshot again.
Once disabled, you should be able to capture frames normally. Still having trouble with how to take screenshot Udemy lessons? Combining this method with a different browser or tool can improve results.
Way 2. Use a Different Browser
A simple browser switch also works well for those testing how to take screenshot Udemy lessons or take scrolling screenshot in a more straightforward way. Each browser handles DRM protection differently, and Firefox is often more flexible with native screenshot tools. Many users find this method helpful when exploring how to screenshot Udemy content without adjusting system-level settings.
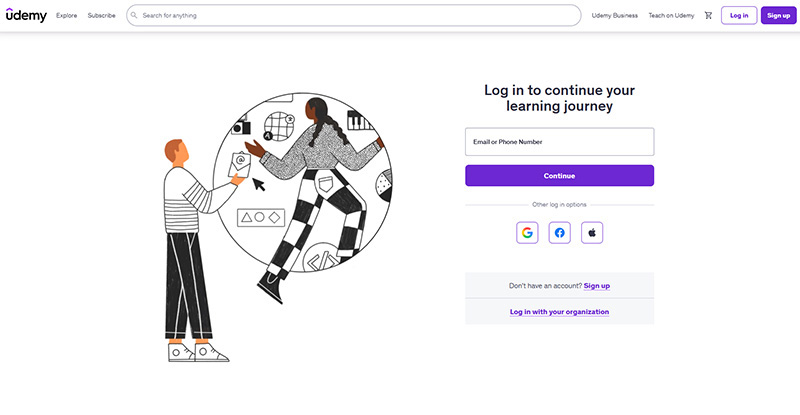
Step 1. Install and launch Firefox, then sign in to your Udemy account and open the course.
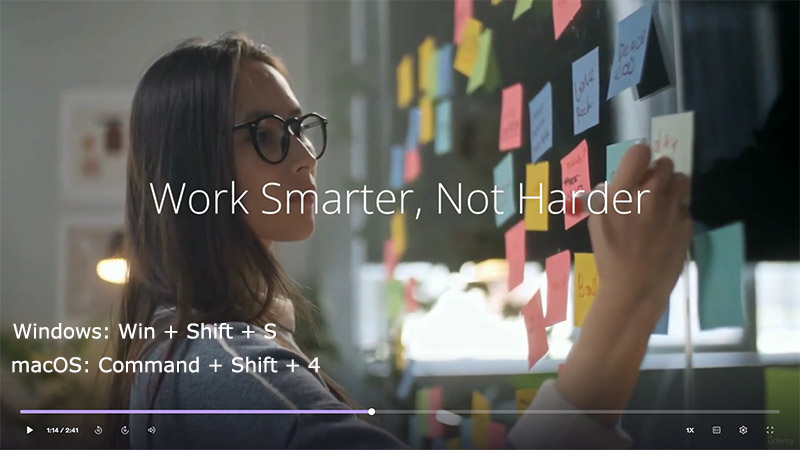
Step 2. Go to the lesson you want and pause at the exact frame you need.
Step 3. On Windows, press Win + Shift + S; on Mac, press Command + Shift + 4 to capture the screen.
Way 3. Use Browser Developer Tools
When standard shortcuts fall short, Chrome’s Developer Tools offer a more precise way to capture on-screen content. Instead of relying on the display layer, this method captures the rendered page directly, which often avoids the blank screen issue. It’s a handy option for users to understand how to take screenshot in Udemy courses with cleaner results and fewer limitations. You can also use it to screenshot Telegram chat.
Step 1. Open your Udemy lesson in Chrome and pause at the exact frame you want to capture.
Step 2. Right-click on the page and choose “Inspect” to launch Developer Tools.
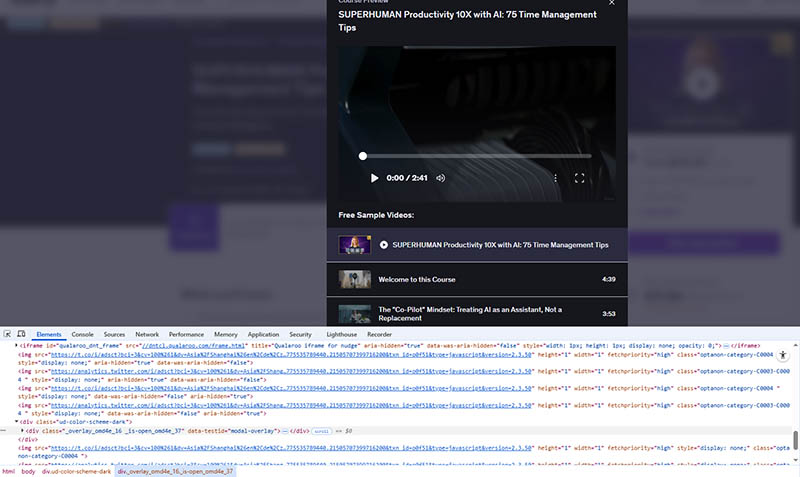
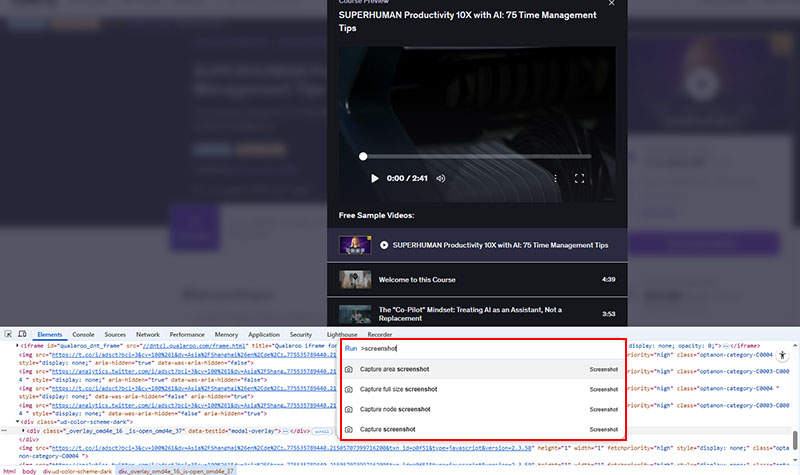
Step 3. Press Ctrl + Shift + P (Windows/Linux) or Cmd + Shift + P (Mac) to open the command menu.
Step 4. In the search bar, type “screenshot” and select “Capture full size screenshot”, “Capture node screenshot”, etc.
Step 5. The image will be saved automatically to your device.
Way 4. Use a Dedicated Browser Extension
Beyond built-in tools, a browser extension can screenshot Udemy content. Extensions like Snipo are designed to work alongside online learning platforms and can capture video frames more reliably by accessing the content before DRM restrictions interfere. This makes it a good option if you are working out how to screenshot Udemy lessons without dealing with blank or blocked images.
Step 1. Go to the Chrome Web Store, search for Snipo, or open its official website, and add it to your browser.

Step 2. Open your Udemy course, play the video, and pause at the frame you want to capture.
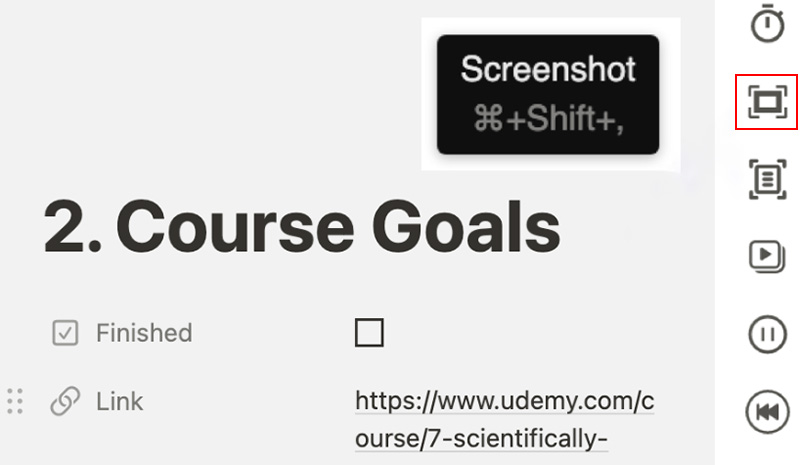
Step 3. Click the Snipo extension icon and select the screenshot option.
Step 4. Save the captured image directly to your device or Snipo workspace.
Way 5. Use a Powerful Screenshot Tool
Looking for a more solid way to capture course frames without trial and error? A specialized tool can take the guesswork out of the process. For PC users, iTop Screen Recorder offers a stable solution that handles protected content screenshot properly and helps avoid the Udemy screenshot black problem while delivering HD/4K UHD images. It’s a highly recommended choice for those uncovering how to screenshot Udemy content without black screen.
-
Free screenshot on Udemy without black screen.
iTop Screen Recorder can bypass Udemy video DRM that blocks normal screenshots. It enables you to record Udemy videos, take screenshot of Udemy, including protected lessons snippets, slides, or diagrams, avoiding black screen issues. -
Flexible capture modes without watermarks.
You are free to record part of screen, a specific window, or capture Udemy with the entire screen, or based on your needs. All screenshots are saved cleanly without watermarks for notes, presentations, or personal study use. -
Real-time annotation with text, arrows, shapes.
Right after capturing, iTop Screen Recorder lets you instantly add highlights, arrows, shapes, or text to emphasize key points. It’s quite straightforward to organize ideas visually and revisit important parts of Udemy lessons later. -
Intuitive interface plus smooth, lag-free capture.
The interface is nifty and easy to navigate, even for beginners. It runs smoothly in the background without slowing down your system, so you can record Udemy videos and screenshot Udemy courses seamlessly during longer study sessions. -
Built-in Teleprompter covering various topics.
The integrated webcam teleprompter helps you review or present Udemy content more effectively. This is useful for summarizing lessons, practicing explanations, or creating your own structured notes alongside captured Udemy screenshots.
With these features in place, the workflow becomes much simpler. Here’s how to take screenshot from Udemy using iTop Screen Recorder on PC:
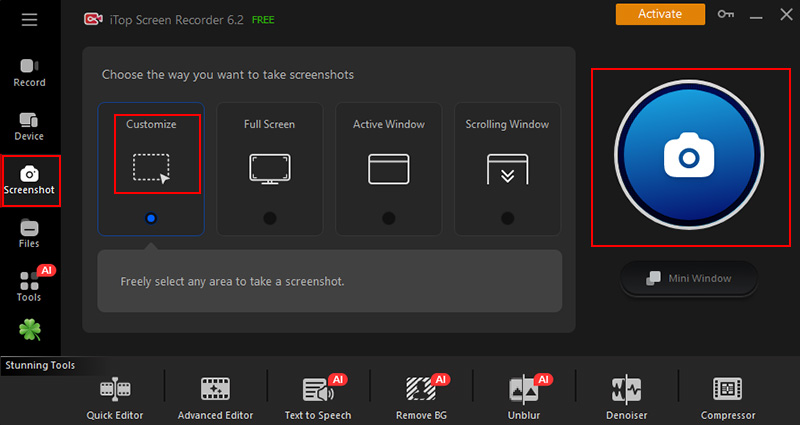
Step 1. Download and install iTop Screen Recorder on your PC, then launch it for Udemy screenshot.
Step 2. Open your Udemy course and pause on the frame you want to capture. Click Screenshot, choose the capture area (full screen or selected region), then press your hotkey or the screenshot button to save the Udemy image.
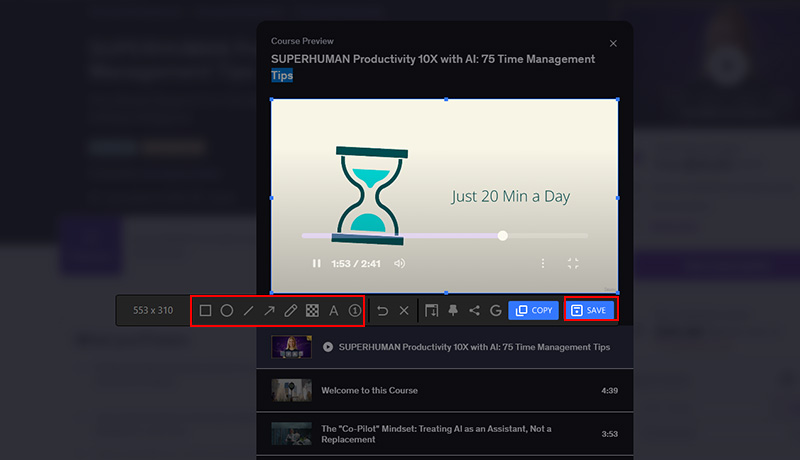
Step 3. Add annotation with text, arrows, etc. to the Udemy screenshots and click SAVE. Head to Files > Image to find your saved Udemy screenshots. From there, you can preview, rename, or organize them as needed.
FAQs on How to Screenshot Udemy
1. Is it legal to take screenshots on Udemy?
Taking screenshots for personal use, such as study notes or reference, is generally acceptable. However, redistributing, sharing, or selling captured content may violate Udemy’s terms and copyright rules.
2. Does Udemy detect screenshots?
Udemy does not typically notify instructors when a screenshot is taken. However, its DRM protection can block or distort captures, which is why some users see black screens.
3. Can I screenshot Udemy on mobile devices?
Yes, you can use built-in shortcuts on iPhone or Android devices. However, some courses may still show a black screen due to app-level protection. In such cases, switching devices or using a desktop method may give better results.
4. What’s the simplest way to avoid black screens?
Using a screenshot capture tool like iTop Screen Recorder is often the easiest solution. It handles protected playback more reliably, captures clear frames, and is the best option if you are looking for how to screenshot Udemy without running into display issues.
Conclusion
Capturing Udemy course content doesn’t have to be frustrating once you know the right methods. From adjusting browser settings to using trustworthy tools, there are several steady ways to get clean Udemy screenshots without interruptions. Still exploring how to screenshot Udemy efficiently? A dedicated solution like iTop Screen Recorder can save time and effort. This screen recorder delivers consistent results, avoids black screens, keeps the screenshots smooth, and is worth trying if you want a hassle-free experience.