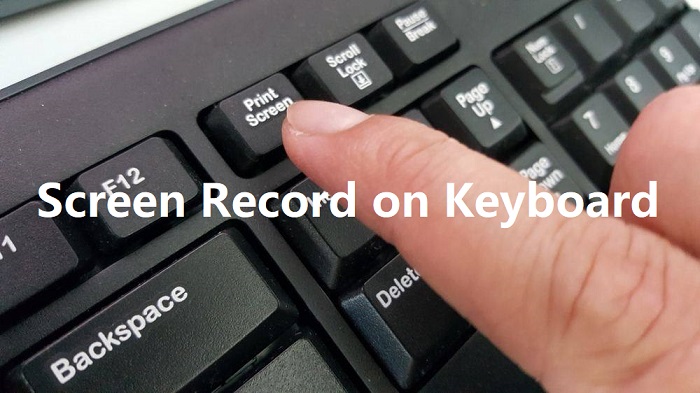
Knowing how to screen record on keyboard is helpful when you want to capture specific moments quickly and efficiently. Specifically speaking, it simplifies the process that requires many repetitive actions, or when a mouse is not readily available. Whether to create tutorials, record games, or just share online lectures, using keyboard shortcuts can make it easier than ever. If you want to start or stop recording without interruption quickly, just follow our guide to learn how to screen record using keyboard.
How to Screen Record on Keyboard on Windows 10/11
This section mainly introduces three methods for Windows 10/11 users to screen record using keyboard, every method with its own advantages and disadvantages. If you want some flexible customization options, high-definition recording quality, and support for multiple modes, just go for Method 1. But on the downside, Method 1 requires installation. If you don’t like installation, Methods 2 and 3 come to the rescue. But they also have limitations, such as the lack of advanced features. Anyway, there is no perfect solution. Just go ahead to choose the method that best suits your needs.
Method 1. How to Screen Record Using Keyboard Using iTop Screen Recorder
iTop Screen Recorder is a powerful and versatile screen recorder that works perfectly on Windows 7, 8, 10, and 11. It allows you to change the default hotkeys for various functions to better suit your workflow. So you can customize keyboard shortcuts for actions like start/stop recording, pause recording, and screenshot, etc. This makes it highly flexible and increases your work efficiency. So, people also use it to record Zoom meetings. In addition to that, it also includes many other impressive features, such as:
- Record any area on your Windows 10/11
iTop Screen Recorder gives you the flexibility to capture any part of your screen on Windows 10 or 11. Whether you want to screen record protected videos, a specific application, or a custom area, this feature allows you to focus on exactly what you need.
- Record your screen with audio & webcam
This tool enables you to record your screen while also capturing audio and your webcam simultaneously. This is particularly useful for creating tutorials, live streams, or commentary videos. For instance, if you need to know how to record one-time video on WhatsApp, you can include your voice and reactions
- Record Windows 10/11 screen in high quality with no lagging
iTop Screen Recorder ensures that your recordings are of high quality without lag, making it ideal for smooth playback. Whether you’re capturing gameplay, online meetings, or important presentations, you can rely on the software to deliver clear and detailed recordings every time.
- Edit your recordings with the advanced built-in editor
Once you've captured your footage, iTop Screen Recorder allows you to trim clips, add annotations, and enhance your videos directly within the software. This feature is especially beneficial if you want to create polished content for platforms like Instagram, as you can easily screen record Instagram DMs and then edit them for sharing.
Here are the steps on how to screen record on Windows keyboard:
Step 1. Download and launch iTop Screen Recorder on your Windows 7, 8, 10, and 11.
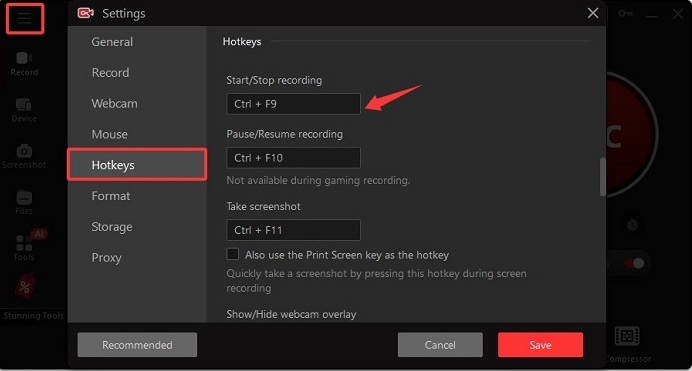
Step 2. Go to Settings, find the “Hotkeys” section, select the command you want to change, and then press the new key combination you want to assign. Once done, click “Save” to proceed.
Step 3. To start recording, you can directly press the new key combination you just changed, and then the iTop Screen Recorder starts recording your screen. Press the key combination again to stop recording.

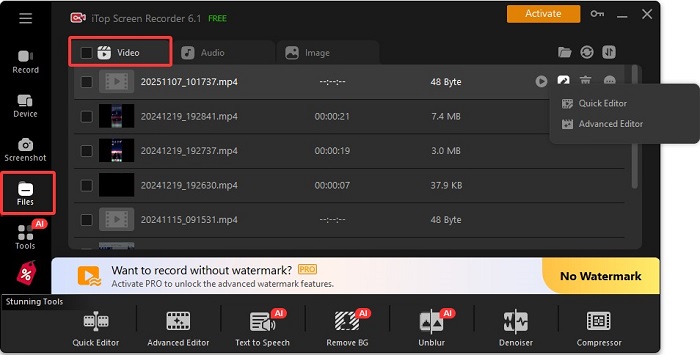
Step 4. Your recordings will be stored in Files > Video. Then you can edit your recordings to make them perfect.
Method 2. How to Screen Record on PC Keyboard Using Xbox Game Bar
Another solution to screen record on keyboard is to use Xbox Game Bar, a free and easy-to-use screen recorder built into Windows. It includes some simple features that are available for basic gameplay or single-app recording with keyboard shortcuts.
However, Xbox Game Bar also has shortcomings, such as an inability to record the desktop or File Explorer, limited quality settings, and occasional glitches. If you want to screen record games instead of general-purpose tasks, then go for Xbox Game Bar. If you want to record File Explore, just consider using another 1080P screen recorder instead.
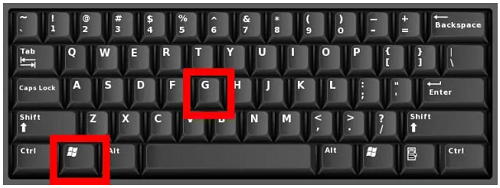
If you like this way, then you can press the Windows key + G to activate the Xbox Game Bar, and use the keyboard shortcuts Windows + Alt + to start or stop recording. Your recordings will be stored in Videos > Captures.
Method 3. How to Screen Record on Keyboard and Mouse Using Snipping Tool
Using the Sipping tool is another good choice for people who don’t want installation. Like the Xbox Game Bar, the Snipping tool is also built into Windows computers. But likewise, it lacks audio recording and editing, webcam support, and has limited output format options. What’s more, it needs you to use the mouse to help.
If you need complex or professional video production, the Snipping tool is not enough. If you only want to handle simple screen recording tasks, you can follow these steps to record your screen.
How to screen record on Logitech keyboard:
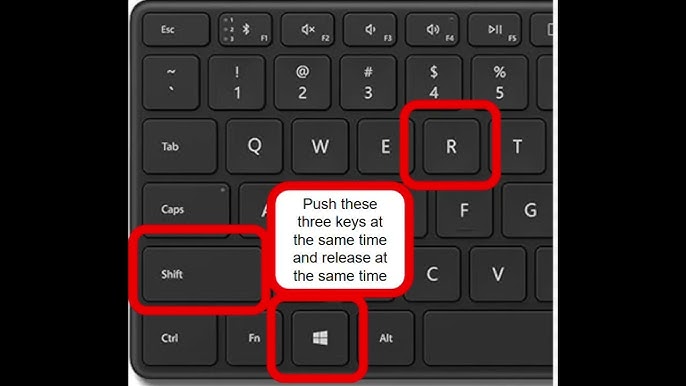
Step 1. Press the Windows key + Shift + R to open the Snipping Tool in recording mode.
Step 2. A toolbar will appear. Click and drag the cursor to select the rectangular area of the screen you want to record.
Step 3. Click the "Start" button on the toolbar to start recording and click the Stop button to end the recording process.
How to Screen Record on Keyboard on Mac
How to screen record on keyboard on Mac? Actually, the process is very simple. Here are the steps on how to screen record on Mac keyboard.
Step 1. Press the Shift + Command + 5 keys simultaneously to open the screenshot toolbar.
Step 2. In the toolbar, choose either the Record Entire Screen or Record Selected Portion icon.
Step 3. Click the Options menu to customize your recording. You can choose where to save the file, set a timer, show mouse clicks, and select a microphone to record your voice.
Step 4. Click the Record button in the toolbar to start recording your screen.

How to Screen Record on Laptop Keyboard
For laptop users, there is no difference compared to desktop users. The same methods apply to desktop computers.
For Windows laptops: Press Windows key + Alt + R to start/stop recording. Or alternatively, you can press Windows key + Shift + S to start recording with Snipping Tool.
For Mac laptops: Press Command + Shift + 5 to open the screenshot/screen recording toolbar, then click the Record button to choose to record the entire or a selected portion. Once finished, click the stop button to end the recording process.
The Bottom Line
That’s all about how to screen record on keyboard. With the methods introduced in this guide, you can quickly capture what you want using keyboard shortcuts. Compared these methods in terms of flexibility and efficiency, iTop Screen Recorder is the best option. It not only offers you customization options but also comes with many other advanced features like screen & webcam recording, video editing, and some AI-powered tools. Now, download iTop Screen Recorder to give it a try!