


Oculus Quest was considered one of the most successful VR headsets. The Oculus VR equipment series has offered an ultimate VR experience for more than 5 years and is considered stable & qualified, and then Oculus Quest 2 came, with the new wave of VR equipment.

The evolution of Oculus Quest 2 isn’t just about minor improvements to internal specs; it's a total, all-around hardware upgrade. With the Snapdragon XR2 processor, a new 120Hz display, 128GB or 256GB of storage, and 6GB of RAM, with better graphics and stable 60 FPS, the Oculus Quest 2 is the best way to experience the Oculus platform.
In this post, we will focus on giving technical guidance on how to screen record Oculus Quest 2 gameplay on PC. There are a few tips about how to screen record Oculus Quest 2 with software assistance and how to improve Oculus Quest 2 recording quality.
- Contents
- How to Recover Temporarily Deleted Data from Laptop
-
How to Recover the Permanently Deleted Data from Laptop
- Recover the Deleted Data from Laptop with Data Recovery Software
- Recover the Deleted Data from Laptop with File History on Windows 11/10
- Recover the Deleted Data from Laptop Using Backup and Restore
How to Record Oculus Quest 2 Gameplay on PC with Device Native Features
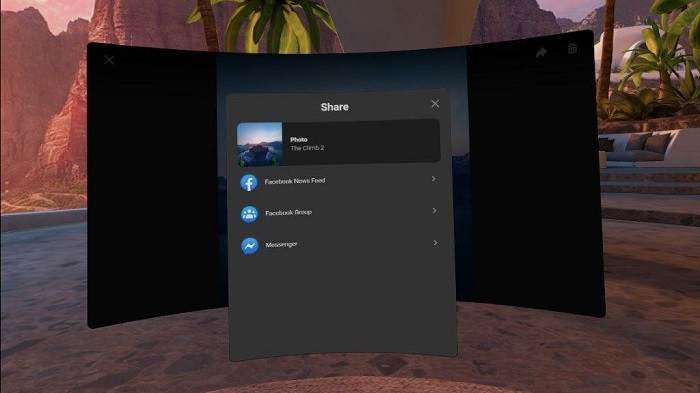
The Oculus Quest 2 has a complete and adequate built-in video sharing function (with limitations). It allows you to record gameplay videos and share them on the media platform, and take screenshots. It also allows you to cast the in-device graphic to a TV, computer, or phone.
Steps to Record on Quest 2 Built-in Sharing Feature
Step 1: Press the Oculus button on the right controller, Go to the quest menu of the device and land on the “Share” section.
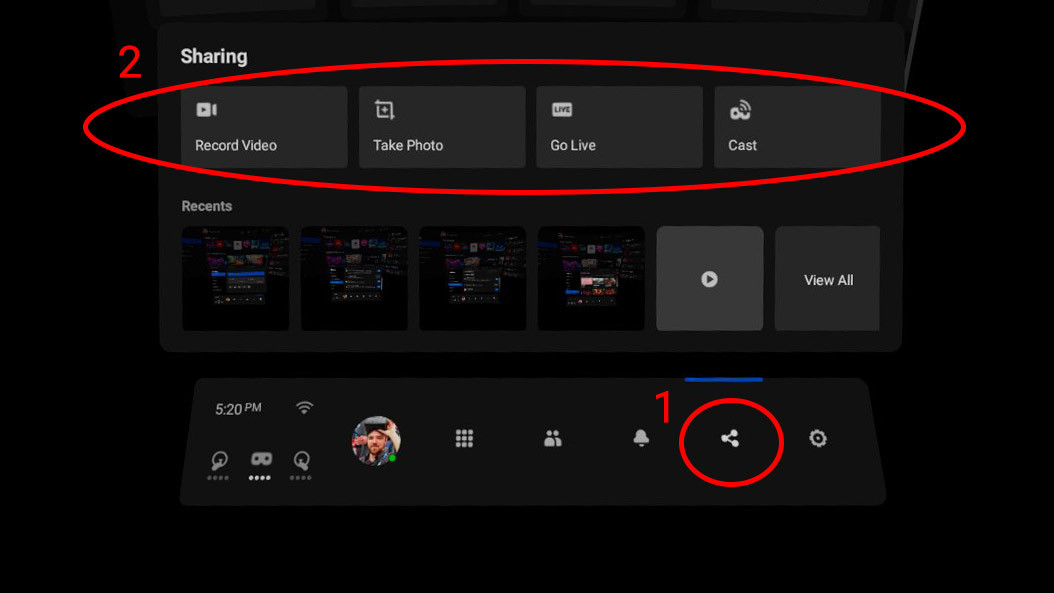
Step 2: From the top of the Share menu, select options like Record video: Go live, take a screenshot, or chat, or store your video on your Quest 2
Step 3: With the Cast option, you can stream videos on your LAN network or other devices. You can also cast to your smartphone using the Oculus smartphone app. For capturing & recording purposes, you can also cast the Oculus Quest 2 Gameplay to your computer.
Step 4: If you need to export your recorded video through Oculus Quest 2, you can connect Quest 2 to your computer and download videos for editing and sharing with others.
How to Record Oculus Quest 2 Gameplay on PC with Better Visual Quality
Due to a series of limitations, like the processor, and memory storage limits, the default setting of the Oculus Quest 2 video record isn’t performed as perfectly. If you need to use the recorded video as a video resource to make your own clip or any sort of content creation, you might need a better graphic presentation. With the SideQuest & screen recorder for Windows we can achieve that goal.
By using the software SideQuest, you can do further set up to your Oculus Quest 2.
Quick Guide on How to Record on Quest 2 Gameplay on PC
Step 1: Download and install SideQuest on your system.
Step 2: Connect the Oculus device to your computer, and execute the Side Quest.

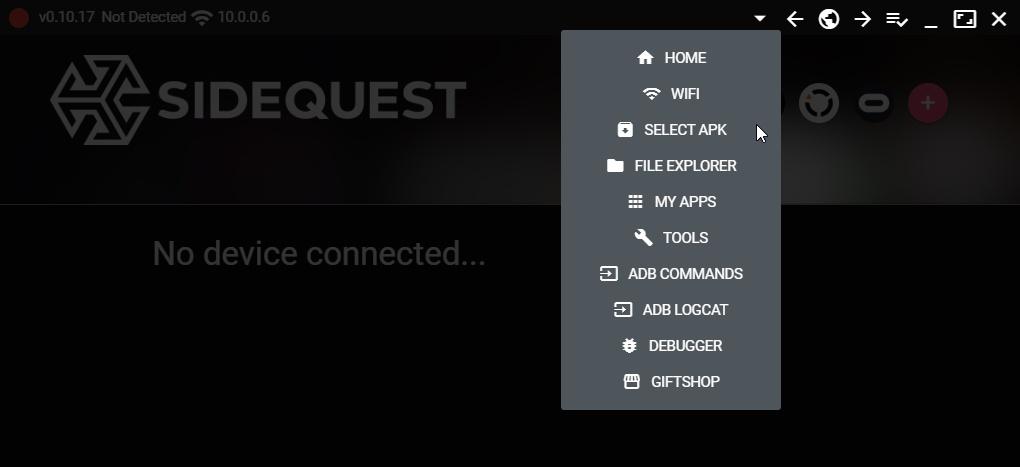
Step 3: From the SideQuest menu, find “Custom Commands” then select “Run ADB Commands”.
Step 4: Then run the following commands: make sure you run each command before the other in “Run ADB Commands”.
adb shell setprop debug.oculus.capture.width 1440
adb shell setprop debug.oculus.capture.height 1080
adb shell setprop debug.oculus.fullRateCapture 1
adb shell setprop debug.oculus.capture.bitrate 30000000
Step 5: The graphic will be enhanced after each commands are executed & the settings are modified.
Need to record game video without watermark? Read this post: >> Screen Recorder without Watermark
How to Record on Quest 2 Videos and Transform Them to Your Computer
Despite exporting the video files out of the device, you can also cast your Oculus Quest 2 video to your computer and record the screen with an excellent screen recorder - the iTop Screen Recorder.
Step 1: On your PC, open a Google Chrome or Microsoft Edge browser. Also, get the iTop Screen Recorder downloaded & installed.
Step 2: Go to Meta's Oculus casting portal in your browser and log in.
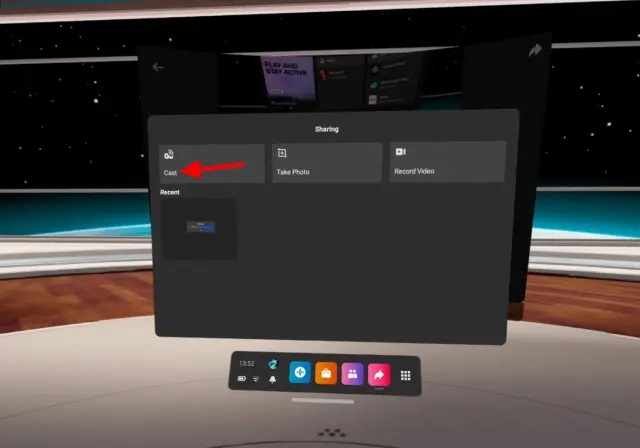
Step 3: On your Quest 2, press the Oculus button on your right Touch controller to bring up the universal menu. On the bottom toolbar, select “Sharing” (the arrow icon)
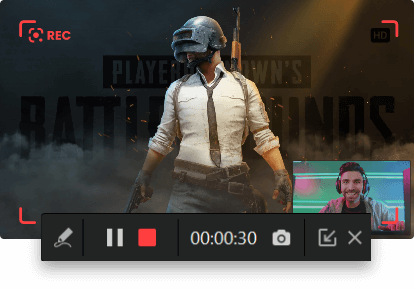
Step 4: The shared video will appear in the browser window, then switch to iTop Screen Recorder.

Step 5: Click on the button “Select the Window” on iTop Screen Recorder, then click the “REC” and the recording will begin. Or you can choose "Select Region" to record part of the screen.

Step 6: You can control the recording by clicking the buttons on the control panel.

Step 7: You can find your recorded video in “my creation”, also edit after recording the video, you can trim, crop, add subtitles, or do some other edit to your Oculus Quest play video.
The benefit of screen recording with iTop Screen Recorder to record Oculus Quest 2 video.
- Free-to-use software. You can have a trial & error without cost.
- Easy to use, quick installation & startup: There’s no harsh learning curve to assist you in recording your Oculus Quest 2 gameplay.
- Powerful features: You can record Oculus Quest 2 gameplay video in the maximum 4K resolution (not even the device itself reaches that)
- Support after-edit feature: You can do an immediate edit after recording.
The Bottom Line
The above post introduces how to record Oculus Quest 2 gameplay on PC. Also, the trick to improve your Oculus Quest 2 graphic is introduced. Here, a proper, competent screen recorder is recommended to you to record Oculus Quest 2 gameplay on PC. The iTop Screen recorder is strongly recommended to be used as a handy tool to help the recording.


