


Gateway, a well-established American computer company founded in 1985, has earned a reputation for producing reliable and affordable laptops. Gateway balances two different identities, operating as both itself and as Acer.
If you're a Gateway laptop user who's ever struggled with taking screenshots, you're not alone. Here are 5 easy ways to screenshot on Gateway laptop, including shortcuts, screenshot tool, PrtSc key, Snipping Tool, and Xbox Game Bar. Continue to read to learn how to screenshot on a Gateway laptop freely.
Screenshot on Gateway Laptop with Shortcuts
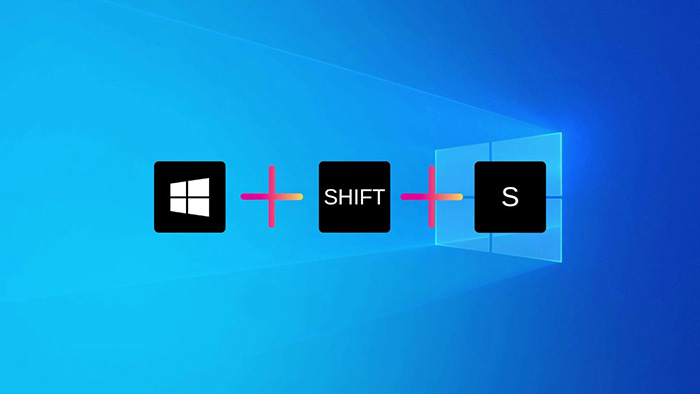
The quickest way to screenshot on Gateway laptops is to use the keyboard shortcuts. However, there are fewer customization options compared to using other screenshot tools. Here's a simple guide on how to screenshot on a Gateway laptop using keyboard shortcuts, Windows + Shift + S. If you want to scroll when taking a screenshot, check how to take a scrolling screenshot.
Step 1. Press the Windows + Shift + S key simultaneously and a small toolbar appears.
Step 2. Select the capture mode: Rectangular, Freedom, Window, or Fullscreen Snip.
Step 3. Drag your cursor to select the area you want to capture. The screenshot will be copied to your clipboard directly.
Screenshot on Gateway Laptop with Powerful Screenshot Tool
While the built-in features like shortcuts and Snipping Tool offer convenient ways to take screenshots, they might not meet the needs of those who require more advanced features or flexibility. How to screenshot on a Gateway laptop with more controls? There’s a versatile and conclusive program – iTop Screen Recorder, providing flexible screenshot and rich editing capabilities.
- Free screenshot tool with clean UI. iTop Screen Recorder has a nifty interface that is easy to begin with, making it accessible to novice users. It is completely free to download and use, providing access to screenshots and recording features without any additional charges.
- Flexible options for screenshot size. iTop Screen Recorder allows you to capture the entire screen and select specific regions with flexibility. You are free to capture exactly what you need, be it a full page, a specific section, or a particular Window.
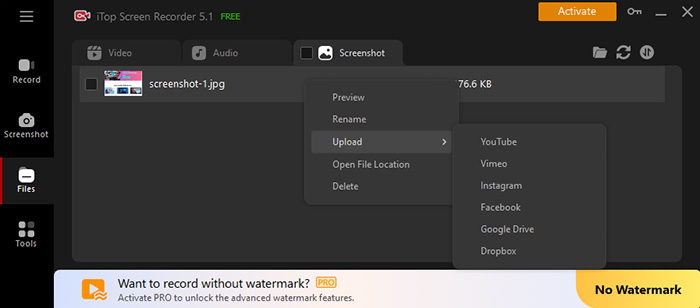
- Quick sharing and easy saving. This screen recorder simplifies the process of sharing and saving your screenshots. With a single click, you can share your screenshots directly to popular social media platforms or cloud services for storage.
- Multiple annotations for better clarity. It makes your screenshots pop with on-screen notes and highlighted areas. Annotate with ease using text, arrows, lines, shapes, etc., each carefully designed to help you spotlight key elements.
- Also a powerful PC screen recorder. How to screen record on a Gateway Laptop? iTop Screen Recorder comes with professional screen recording features. It helps record part of screen and full screen in up to 4K UHD with system audio and microphone input.
iTop Screen Recorder is a user-friendly approach that simplifies the process and gives you more control over your captures. Here’s how to take screenshots on a laptop using iTop Screen Recorder.
Step 1. Begin by downloading iTop Screen Recorder. Follow the on-screen instructions to install the software on your Gateway laptop and open the application.
Step 2. Locate the "Screenshot" icon on the left panel of the main interface. Click on this icon to open the dedicated screenshot window.

Step 3. Choose your preferred capture method from the available options: Customize, Full Screen, Active Windows, or Scrolling Window. If you want to capture a specific area of the screen, select "Customize" and drag your mouse to create a selection box. Click the big screenshot icon to start taking screenshots.
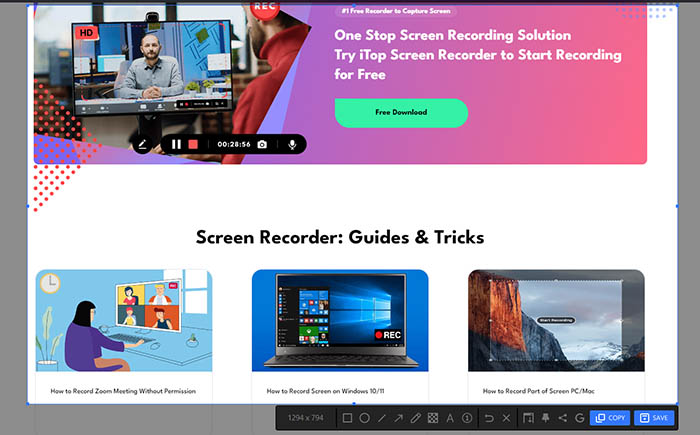
Step 4. Once you've captured your screenshot, a toolbar will appear with various editing options. You can add text, arrows, shapes, numbers, etc. to annotate your screenshot for a better explanation. Click the "SAVE" icon to save your screenshot on the Gateway laptop.
Also Read: How to Screenshot Grindr Without Permission >>
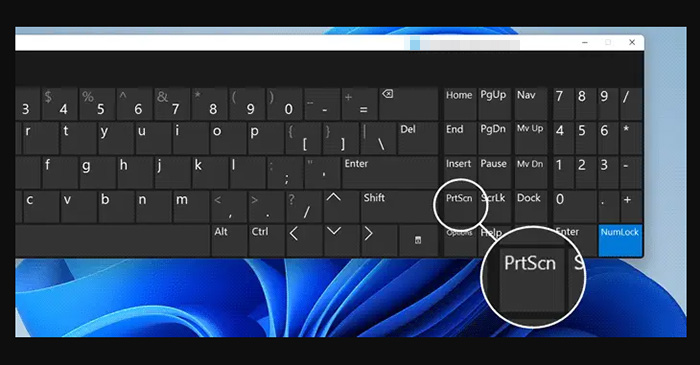
Screenshot on Gateway Laptop with Print Screen Key
The Print Screen key method offers a quick and easy way to screenshot the active Window of your Gateway laptop directly. There's no visual indication that a screenshot has been taken until you paste it into an image viewer. This can be frustrating if you're unsure if the capture was successful. Below is how to take a screenshot on a Gateway laptop via the key.
Step 1. Press the Print Screen key on the keyboard to capture a screenshot of the entire screen on the Gateway laptop.
Step 2. The screenshot will be saved to the clipboard automatically. To view or save it, open an image editing program like Paint or Photoshop and press Ctrl+V to paste the screenshot.
Screenshot on Gateway Laptop Using Snipping Tool / Snip & Sketch
How to take screenshot on Windows 11? If you're using a Gateway laptop running Windows 11, take screenshots using the built-in Snipping tool. You can typically crop, add basic annotations (like arrows or text), and adjust the pen color and thickness, but more advanced editing options may be restricted. Learn how to take a screenshot on a Gateway computer with Snipping tool.
Step 1. Search for "Snipping Tool" in the Start menu or search bar. Click on the Snipping Tool icon to open it.
Step 2. Click the New button. Your cursor will change to a crosshair. Drag it to select the desired area to capture.

Step 3. The screenshot should appear in the Snipping Tool window. You can now edit it as needed, such as cropping, adding text, or highlighting areas. That’s all about how to screenshot on a Gateway laptop easily with the Snipping tool.
The Snip & Sketch operates similarly to Snipping on Windows 10, allowing you to capture specific areas of your screen and edit the screenshots before saving them on Windows 10.
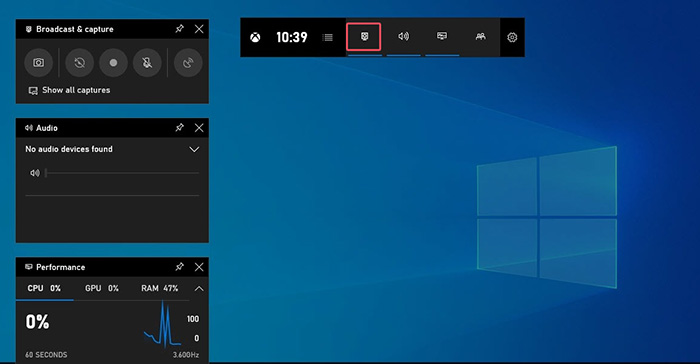
Screenshot on Gateway Laptop with Xbox Game Bar
It’s also a good idea to learn how to screenshot on a Gateway computer with an Xbox Game Bar. It has quick and easy access with overlay functionality. However, if you need more advanced screenshot features or are using an older version of Windows, you might want to try other options like the Snipping Tool or dedicated screenshot software. Learn how to screenshot on a Gateway laptop with the following steps.
Step 1. Press the Windows key and G key simultaneously to activate the Game Bar.
Step 2. Click the Capture button in the Game Bar.
Step 3. Click the Camera icon to take a screenshot on the Gateway laptop.
How to Screenshot on a Gateway Laptop FAQs
1. Can I take a screenshot of a scrolling page?
Yes, you can take a screenshot of a scrolling page on your Gateway laptop. Most operating systems offer tools or keyboard shortcuts that allow you to capture the entire page, even if it's longer than your screen.
2. Can I screen record on the Gateway laptop?
Yes, you can screen record on your Gateway laptop. Most operating systems have built-in screen recording features, or you can use third-party software like iTop Screen Recorder for more advanced options.
3. Can I edit my screenshot after taking it?
Yes, you can edit your screenshot after taking it. There are many image editing software options available, both free and paid, that allow you to crop, resize, add text, and more to your screenshots.
Conclusion
How to screenshot on a Gateway laptop? The shortcuts and Snipping tool are easy ways to go. If you require flexibility, more controls, and advanced features like editing tools, a screen recorder & a dedicated screenshot tool like iTop Screen Recorder is a better option. Get iTop Screen Recorder free download and install it now to start capturing and editing your screenshots with ease.


