The pandemic which began in March 2020 changed the work landscape drastically. And work from home, instead of commute work has become the trend due to various reasons.

Zoom, as one of the most reliable & popular online meeting software, has set its broader stage for business & individual user groups. With the expansion of Zoom user number, more people start to use the Zoom meeting feature as their daily online meeting/ remote working software. And the increasing queries about how to do Zoom screen recording have become the most frequently asked question.
- This is an Article Index.
- Do not insert any text in here.
- This index will be generated automatically when displayed on the front end.
- Of course we still love you.
How to Do Zoom Screen Recording Quickly?
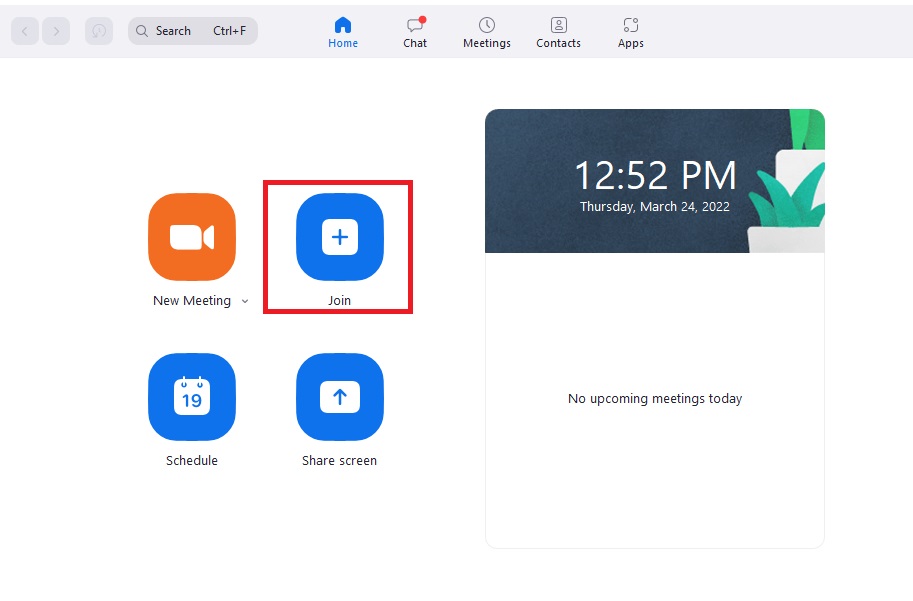
Step 1. Have your Zoom APP prepared for Zoom screen recording, sign into your account, join the Zoom meeting that you would like to record.

Step 2. After you join the meeting, you will find the “Record” button with a white “camera” icon to record the meeting. You can select to store the record video meeting file stored on cloud (Paid service) or on local (Free feature). Following tips will be based on the store on local resolve.

Step 3. You can control the recording process by clicking on the “Pause” or “Stop” buttons. To stop your recording will not terminate the meeting itself.

Step 4. Your Zoom screen recording files will be stored in the following folder:
Windows: C:\Users\[username]\Documents\Zoom
Mac: /Users/[Username]/Documents/Zoom
The folder will pop up immediately after your Zoom meeting ended.
Does Zoom Block Screen Recording?
Does zoom prevent screen recording? It allows you to screen record, but the issue of Zoom screen recording is you will not be able to screen record Zoom meetings unless the meeting holder has allowed the participant to record this meeting.

In other words, you can’t do Zoom screen recording without host permission. That could be sometimes annoying when you decide to record an important business meeting as a participant, but the meeting holder is prohibited for a confidential reason. Or you are a student participating in a remoting class and want to record your online classes for reviewing, but your professor says no.
In these cases, you might need a proper screen recorder to help you do Zoom screen recording, the iTop Screen recorder will be one of the best options for you to do screen recording on zoom.
How To Use Third Party Recorder to Screen Recording Zoom
iTop Screen is absolutely one of the best free third-party screen recorders you can use. No payment, no registration, just download & use. The free version will give you access to all features & no recording time limit. It is surely a nice deal to help you to do Zoom screen recording without permission, freely.
Also, the flat & easy design of iTop Screen Recorder is fairly easy to use – just download the application from the official website, double click on, install & go. Its simplified design will always take you to the place you need.
Need to record Nintendo Switch games ? Also read >>How to Record Switch Game with Screen Recorder<<
How to Use iTop Screen Recorder to Do Zoom Screen Recording
Step 1. Download iTop Screen Recorder to your Windows from the iTop site.
Step 2. Notice: According to the reports, Zoom is possibly detecting & sniffing user behavior, including screen recording. Although Zoom has no intervention to a user to use a third-party recorder to bypass the record permissions, here’s still a recommendation to lunch a third-party screen recorder, like the iTop screen recorder before you enter Zoom meeting.

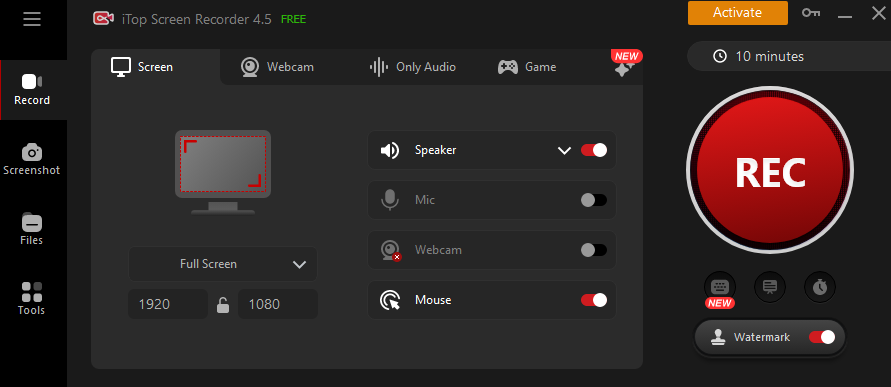
Step 3. After you have the iTop Screen Recorder prepared, and joined the Zoom meeting, then switch to the iTop Screen Recorder, click the biggest “Full Screen” button, and the drop-down menu will appear. Then click “Select Window”. Move your cursor to your Zoom meeting window and the iTop Screen Recorder will capture the window, then click the mouse.

Step 4. After the window has been captured, click the “Record” button, or you can press the “F9” key on the keyboard, your recording will begin.

Step 5. You can stop recording anytime by clicking the “Stop Button” on the hover panel or pressing the “F9” key to stop recording.

Step 6. You can do some simple editing & modification with your recorded video after recording.

Benefits of Doing Zoom Screen Recording iTop Screen Recorder
#1 Record Zoom Meeting Without Permission
The first thing first, is that the iTop Screen Recorder can help you bypass Zoom meeting restrictions. In fact, not only Zoom, various conferencing software, online streaming which limits your download, the iTop Screen Recorder can be an effective tool to assist.
#2 Flexibility & Extensive Features
There are detailed options & settings to apply to your reordered videos like to change resolution, video quality, recording scale, sound quality, etc. You may do just as you want. You might also take a screenshot while recording, convert video formats after shots… there are still many exciting features to be explored.
#3 Free Screen Recorder with Unlimited Time
You can use the iTop Screen Recorder to do Zoom screen recording freely & unlimitedly. A watermark will appear on the recorded video – it is still good for recording a Zoom online meeting. The Online Screen Recorder is also available for you to explore.
The Bottom Line
If you have such a need like to do the Zoom screen recording, you might don’t want to miss the iTop Screen Recorder. And there are also other approaches to record Zoom meeting online, like the online recorder. Hope this post can do help.
 Vidnoz AI creates engaging videos with realistic AI avatars. Free, fast and easy-to-use.


