


Whether you want to introduce a desktop application, or you want to show somebody a problem you are having with your computer, it is easy if you record a video of your screen activity. Apple Mac computer comes with a built-in screen recorder to help capture screen videos. You can record any selected area of your screen, record audio, or mouse click effect. This article will illustrate how to screen record on MacBook Air or MacBook Pro easily.

How to Screen Record on MacBook with Keyboard Shortcuts
To record screen on a MacBook, the easiest method is to use the Screenshot utility. It is a free and built-in screen capturing tool on your Apple computer, letting Mac users record screen video clips as well as screenshots.
How to record MacBook screen with screen recording shortcut
1. Press the Command + Shift + 5 keys on your keyboard to open Screenshot toolbar.

A toolbar will appear at the bottom of your screen. All screen capturing options on the overlay include (from the left to the right):
- Capture Entire Screen: this button allows you to take a screenshot of your entire screen
- Capture Selected Window: this button allows you to take a screenshot of a selected window like an application and a browser
- Capture Selected Portion: this button allows you to take a screenshot of any selected area of your screen
- Record Entire Screen: this button lets you record the entire screen and make it into a video
- Record Selected Portion: this button lets you record any selected area of your screen and make it into a video
- Options: this button offers you more options for capturing a screenshot or a video on your Mac
- Record: click this button to start recording the screen
2. Select Record Entire Screen or Record Selected Portion.
According to your need, hover your cursor over the icon and select the recording mode. If you choose to record the whole screen, a camera icon will appear. If you choose to record a portion of your screen, you will see a highlighted box appear with broken lines. drag the corners of the box to adjust the frame size or drag and move the box to a different area of your screen.

3. Select various options for your Mac screen recording.
Mac's Screenshot utility also allows you to set up preferences for a screen recording video. It includes choosing a location where you want to save the recorded video (desktop by default), a recording timer (no timer by default) before the recording starts, a microphone for audio input (no microphone by default), and more.

4. Click the Record button to start recording once you are ready.
If you choose to record your entire Mac screen, you can also move the camera icon to the window you would like to capture and click it to start recording.

5. Click the square in circle icon at the top of your Mac's screen where the time and date display to stop recording.
You can also bring up the toolbar again by using Shift + Command + 5 keys and clicking the Stop button on the far-right side. Pressing Command + Control +esc keys together can stop recording for you as well.

How to Screen Record on MacBook With QuickTime Player
If you have an older MacBook Air or MacBook Pro running a macOS version before macOS Mojave, the keyboard shortcuts don't work for you. QuickTime Player not only serves as a media play, but a MacBook screen recorder to capture activities on your screen
Steps to screen record in MacBook laptops using QuickTime
1.Open the QuickTime Player app.
It is a pre-installed application in the Finder. Find the QuickTime Player in the Application folder and double-click to launch it.
2. Click File in the Apple menu bar at the top of your screen.
This will open a drop-down menu with many options for movie recording, audio recording, screen recording, and more.
3. Select New Screen Recording.
On a newer MacBook, you will see the same Screenshot Utility toolbar. Follow the steps in the first method to create a screen video. On macOS High Sierra or before, this will open a screen recording window.

4. Select more settings for Mac screen recording.
You can click the arrow next to the red circle and select a microphone and whether you want to show the mouse click effect in the recorded clip.

5. Start recording.
If you want to record the entire screen, you can click anywhere on the screen to start recording. If you want to record a certain portion of your screen, you can drag your cursor to select an area and then click the Record button (the red circle).
6. Click the square in a circle icon at the top of your screen to stop recording.
After you stop recording, QuickTime Player will open the recorded video automatically. You can choose to play, edit or share the video. You need to manually save the video by selecting File at the Apple menu bar and the Save option.
How to Record MacBook Screen Online
iTop Online Screen Recorder is another choice to screen record on MacBook from browser. Follow the guide to learn how to use it to do screen recording in Apple laptops.
1. Access iTop Online Screen Recorder from your browser.
2. Customize the recording options. Screen is the default option. You can also choose to record screen with audio, record screen with webcam or record screen with both.
2. Click Start Recording.

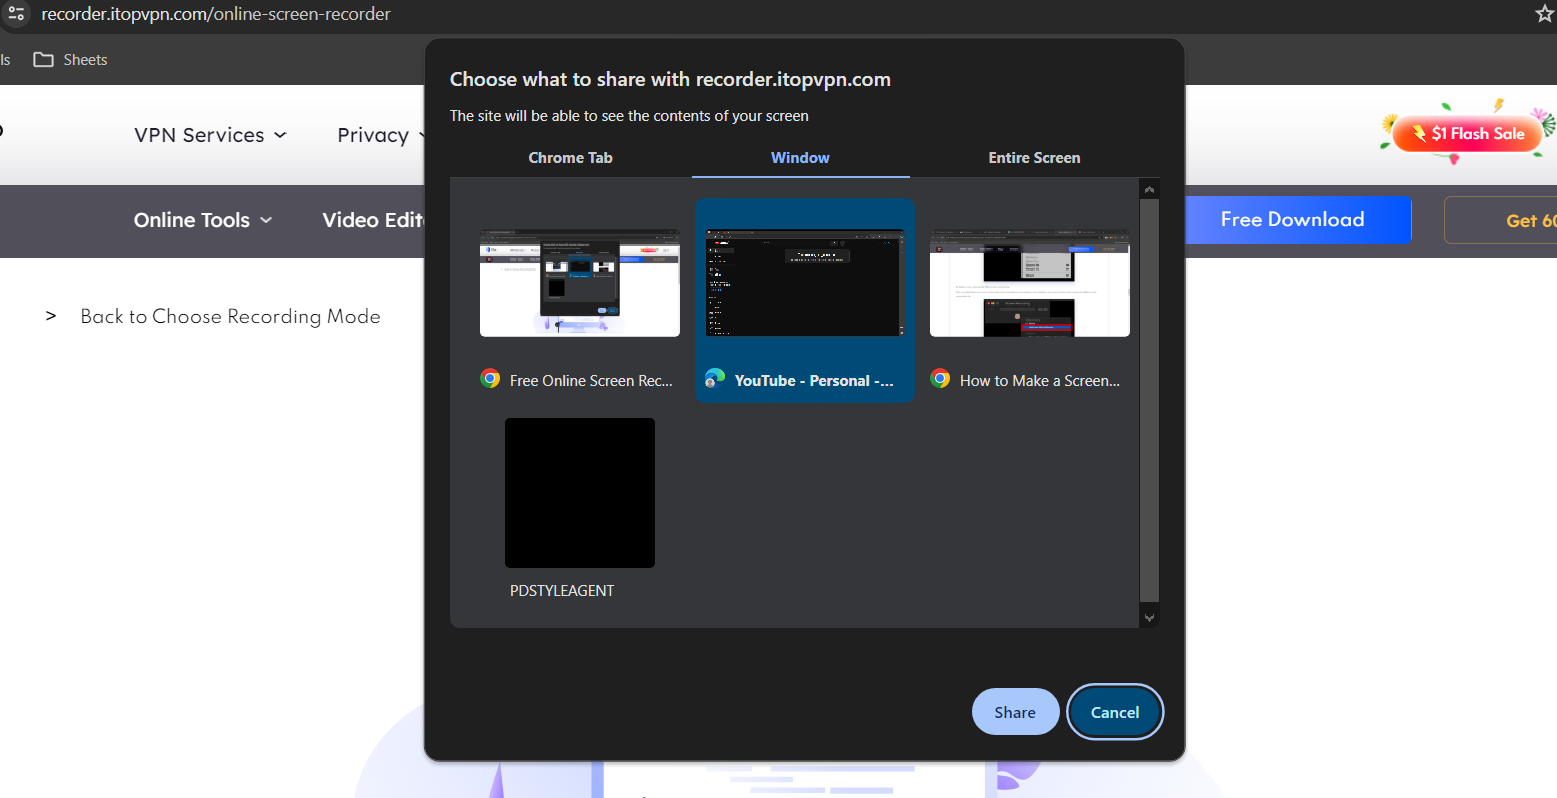
3. Select what you want to record, a browser tab, a window or full screen.
4. Click Share to start recording MacBook screen online.
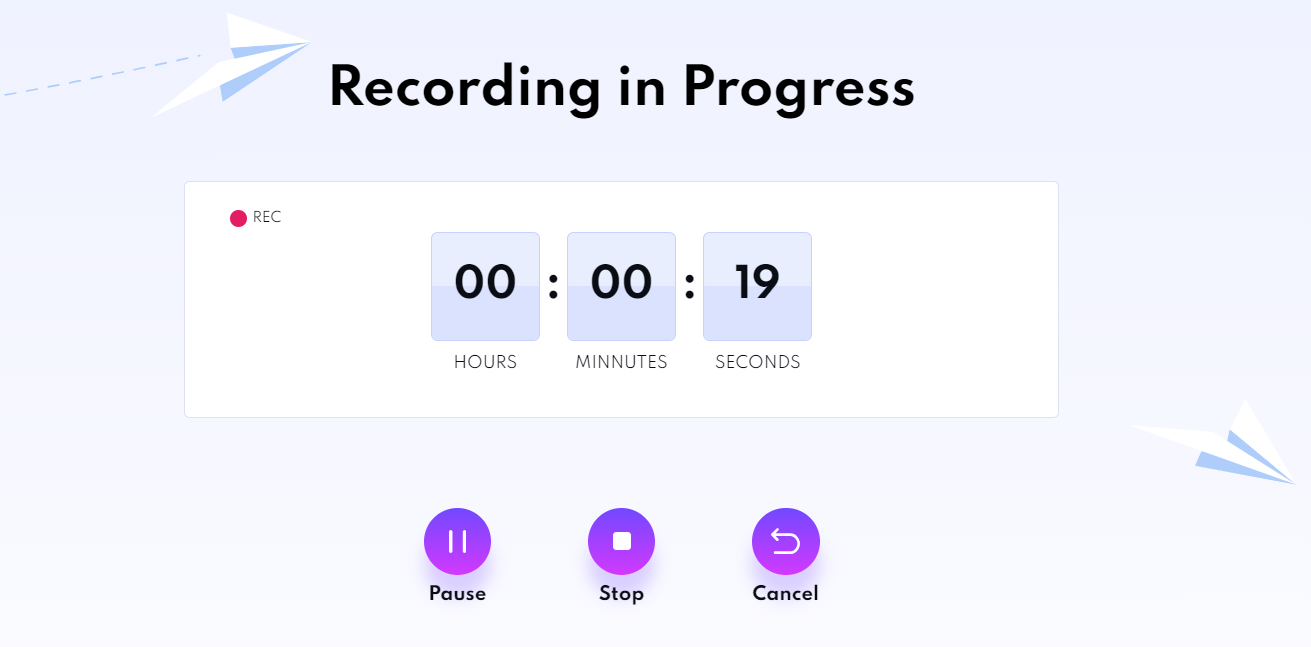
5. Click Stop button to stop recording.
6. Click Download button to save your recording.
Bonus: What If You Want to Screen Record in a Windows Laptop?
iTop Screen Recorder is a leading screen recorder for Windows. It has an array of features that enable you to create a high quality screen recording for various cases, from making a video tutorial to ripping favorite shows from streaming services. It offers 4 recording modes to meet various needs.
- Screen Recording: Record everything on your screen, including your mouse clicks, keyboard inputs, the workflow of a program and any content in a page. You can also record screen with audio/voice and yourself thanks to the support of microphone and webcam.
- Audio Recording: Capture internal/external audio only. You can record streaming audios, your singing/reading with background noise cancellation. Voice changer helps you disguise your voice for privacy protection.
- Webcam Recording: Record yourself with audio to create a presentation. It enables you to record a video with blurred background, virtual background and transparent background to make your presentation more pro.
- Game Recording: Automatically detect and record gameplay. You can also record yourself while playing the game. Hardware acceleration and game boost features helps you to record gameplay with no lags and no fps drops.
Free download iTop Screen Recorder to enjoy the best user experience and performance to record screen in Windows 10/11 now.
FAQ About How to Screen Record on MacBook
1. How to Screen Record on MacBook Air?
Step 1: Press Command, Shift, and 5 keys together.
Step 2: Select Record Entire Screen or Record Selected Portion.
Step 3: Click the Record button to start screen recording.
2. How to Screen Record on MacBook Pro?
Step 1: Press Command, Shift, and 5 keys together on your keyboard.
Step 2: Select Record Entire Screen or Record Selected Portion.
Step 3: Click the Record button to start recording on MacBook Pro.
3. How to Record Screen on MacBook with Audio?
Step 1: Press Command, Shift, and 5 keyboard shortcuts to open the Screenshot utility at the bottom of your screen.
Step 2: Select Record Entire Screen or Record Selected Portion.
Step 3: Click the arrow next to Options and select a microphone.
Step 4: Click the Record button to create a recording video of your screen with sound.
In the End
There are several ways to screen record on MacBook Air and Pro. Screen recording shortcut is recognized the most convenient way while QuickTime Player and online screen recorder offer advanced features to complete more tasks. According to your need, choose the best way to record your MacBook screen hassle free.


