You might want to achieve various visual effects in your video – especially when you are trying to make your own video content to upload to a video streaming platform like YouTube, or you are making your own video collection, which also needs you to edit, modify, trim, crop, flip video is necessary. Thus, how to flip a video in Windows? How does another edit your video to achieve splendid visual effects? Read the post and learn how.

- Contents
- How to Recover Temporarily Deleted Data from Laptop
-
How to Recover the Permanently Deleted Data from Laptop
- Recover the Deleted Data from Laptop with Data Recovery Software
- Recover the Deleted Data from Laptop with File History on Windows 11/10
- Recover the Deleted Data from Laptop Using Backup and Restore
How to Do Video Flip Online
Nowadays, thanks to the power of advanced web development, increasingly powerful web tools can almost be capable of any work which we can only achieve on a Windows application. Anyway, today you can flip a video quite easily with the help of online tools.
There are many options & choices for you to flip your video, here we use clideo.com/flip-video as an example.
Step 1. Go to clideo.com/flip-video
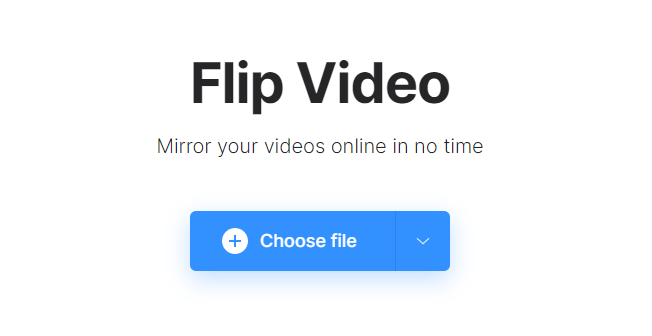
Step 2. Click the “Choose file” button and then select & upload the video file that needs to be flipped on your computer.
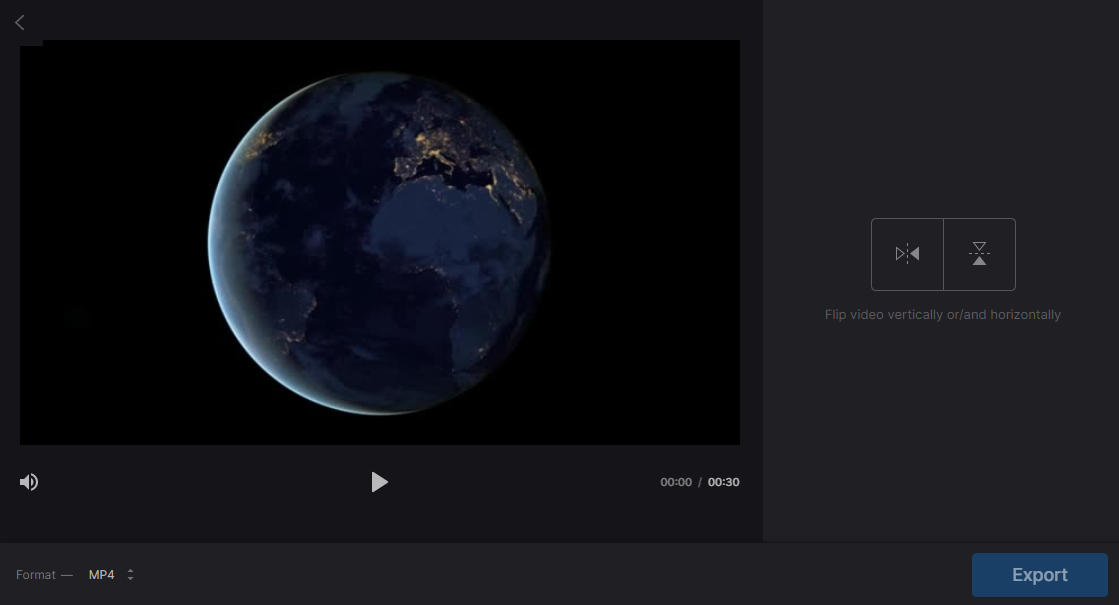
Step 3. Wait until your video gets fully uploaded, then choose if your video is vertically or horizontally flipped.

Step 4. After the flipping, click “Export” to download the file, and then you get the flipped video.
Using an online tool to flip video can have both pros and cons:
Pro:
- Using the online tool to flip the video can be easy & quick
- Free-to-use, you don’t have to pay to flip your video
Con:
- Not guaranteed secure since your need to upload your video to the website
- Can’t use without internet connection
- Possible risks of privacy leak – especially while uploading private videos
Need to know tricks about how to record Zoom without permission? Also read: >> How to Record Zoom Meetings without Permission
How to Flip Video with Video Edit Tools Like Premiere Pro
While we consider the tool to flip videos the most popular & most appropriate for the user, Adobe Premiere Pro is no doubt the best choice for us to flip & edit our videos.

The Adobe Premiere Pro, released on 23 September 2003 by Adobe company, has now become the standard of video editing software. You can do literarily every possible modification to your video with Adobe Premiere Pro – it covers everything and part of your need for video editing was they put forward to you actually. As to flip video, the Premiere Pro not only can flip the whole video as usually we expected, its powerful feature can even support flipping a portion of a clip & video.
The learning curve of Adobe Premiere Pro is notoriously sharp. But, to flip video in Adobe Premiere Pro isn’t complicated as we think it might be, several clicks & settings can get your video flipped in Adobe Premiere Pro.
Flip an entire clip.
Step 1. Select the Effects menu.
Step 2. Find the Transform tab.
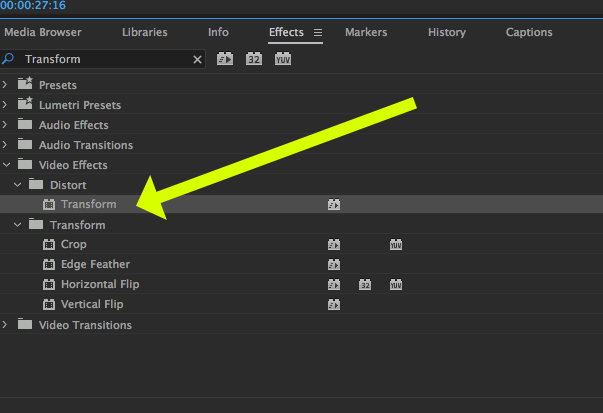
Step 3. Select Horizontal Flip or Vertical Flip from the drop-down menu.
Step 4. Drag the flip of your choice onto the clip, instantly reversing the image in the Programme Monitor.
Flip one portion of a clip.
To create a disorienting effect, you might want to flip only a portion of a clip.
Step 1. Press the C key to select the Razor tool, then click at the point in the video clip where you want the flip to start.
Step 2. With the Razor tool still selected, click again at the point where you want the effect to end.
Step 3. Select Horizontal Flip or Vertical Flip from the Transform tab.
Step 4. Drag the Flip effect to that segment of the clip in the timeline.
Pro:
- As the best video edit software, Adobe Premiere Pro can fit all your need
- Flip video tasks can be perfectly done in the highest quality with the Adobe Premiere Pro
- Support all formats and video resolution
Con:
- Paid application. You need to pay for its service and it is not cheap.
- Hard to use – it takes time to learn how to use the Adobe Premiere Pro
Flip Video Alternative – Edit Your Video with iTop Screen Recorder
While we put all factors into us consider finding the best solution to flip the video, the iTop Screen Recorder can be one of the competitive tool for you to edit video.

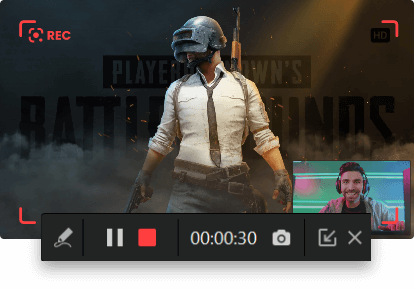
Besides the sole feature to flip video, this video flipper can help almost everything you need to deal with your video & graphic need as a video creator, like to record part of your screen, or to screen record Windows 10. With iTop Screen Recorder's powerful edit function, you are able to:

- Crop, trim your video
- Add transform, flip video, fade effect, opacity, etc…
- Adjust the video speed, adjust video on the timeline…
- Add sticker, subtitles to your video…
- Add texts
- Add visual effects and filters
- Add transition
You can benefit a lot from iTop Screen Recorder. That’s why we highly recommend you use the tool to record/edit your video. Here are some worth mentioning features from iTop Screen Recorder.
• Free-to-use. It’s 100% free to record video and edit your video There’s no trick, no adware, no plugin, and no redirects.
• Easy to use. It’s quite easy to use even for novice users, thanks to the well-designed user interface. The tool has quick installation & startup, you can quickly install the program by following its popping-up instructions.
• Multiple output video formats. iTop Screen Recorder enables you to record video files to MP4, FLV, and other video formats for offline playback or editing on multiple devices.
• Video/audio editing features. iTop Screen Recorder is a versatile video recorder program, that comes with many useful audio editing options. You can cut out unwanted recording clips, merge/split videos, and add visual effects.
Conclusion
This post introduced different methods to flip video. The different approaches include using a web-based tool & using a video editor software like Adobe Premiere Pro. Also, the iTop Screen Recorder is also recommended to be used as a flip video alternative.
 Vidnoz AI creates engaging videos with realistic AI avatars. Free, fast and easy-to-use.


