


Whether you want to create a video tutorial or get a video clip to share on social media, screen recording can be helpful. Actually, you don’t need third-party software to record what happens on your computer screen because Windows 10 has a native assistant - the Xbox Game Bar screen recording tool.

Don’t judge by its name. It is a feature of the official Xbox app that was designed to record gameplay clips on the Live platform, but it can be used normally for screen recording of any application or game that is running on your desktop.
- This is an Article Index.
- Do not insert any text in here.
- This index will be generated automatically when displayed on the front end.
- Of course we still love you.
Record Screen with Xbox Game Bar Screen Recording Tool
It is quite easy to use Game Bar to take screenshots and record screen Windows 10. You can refer to the steps below to see how it works.
Step 1. Press the “Windows + G” key combination and a small bar will appear on the screen asking you to confirm the opening of the game bar. Click on the checkbox next to the option “Yes, this is a game”. If somehow, the Game Bar does not appear, you can search “game bar” in the Windows 10 search box.
Step 2. The game bar is somewhat intuitive and has only six buttons. You just click the camera icon to start a free-time Xbox Game Bar recording. You can also use keyboard shortcuts.(Windows + Alt + G to record 30 seconds, Windows + Alt + R for free recording and Windows + Alt + PrtScrn to save a screenshot).

Step 3. After that, you will get a small pop-up bar with a timer and two recording controls. You can click on the microphone button to turn off your external mic to only record your internal mic voice.
When the recording is complete. All files are stored in the “Game DVR” section, within the Xbox application, but you can also find them in the “Capture” folder, in the operating system's video directory.
As you can see, the Windows 10 Game Bar Screen Recorder is quite handy when it comes to screen recording without the need to download anything. However, the recording feature is not compatible with any computer.
Reasons and Solutions to Xbox Game Bar Not Recording
Sometimes, you’ll meet different situations that inform you the Xbox Gamer Bar is not able to record your gameplay. The following part will show you the reasons and solutions to figure out different situations. Keep reading.
Situation 1: “Sorry, this PC doesn’t meet the hardware requirements for clip recording”.
Reason: If your computer's hardware isn’t meet certain requirements you can not use the Game DVR feature of your Windows 10 PC and capture videos. So the Xbox Gamer Bar is unable to record the screen.
Solution: You need to add a graphics board, update display adapters(graphic drivers) or use a high spec PC.
Situation 2: “Can’t record now. Try again later”.
Reason: This is not a serious notification. It is just one of the various bugs that result from a system that isn’t in optimal condition.
Solution: It can not be fixed by using the methods in the guide. You need to regularly clean up your PC and restart your PC to run the Game Bar again.
Situation 3: Windows 10 Xbox Game Bar doesn’t appear.
Reason 1: The game bar feature may be disabled, or the Windows key may be disabled by the game
Solution: Check your Xbox Game Bar settings. Open the Start menu, and select Settings > Gaming > Xbox Game Bar to enable "recording game clips, chatting with friends, and receiving the game invite".
Reason 2: Only one app can be recorded. So it can't capture the entire Windows 10 desktop.
Solution: Try using the PC screen recording software iTop Screen Recorder, which allows you to freely select the recording range.
Reason 3: There is a problem with the Xbox Game Bar’s data settings.
Solution: Repair and reset your Xbox Game Bar. Then launch the game and see if the problem is resolved. If it isn’t fixed, reinstall your Xbox.
Situation 4: The Game Bar doesn’t work properly.
Reason 1: Insufficient Media Feature Pack.
Solution: Manually install the Windows Media Feature Pack.
Reason 2: There is a problem with the Game DVR policy and registry.
Solution: Enable Game DVR in Group Policy / Registry.
Reason 3: Insufficient storage.
Solution: Check the storage status in advance.
If the above solutions can not solve the recording issues of the Xbox Game Bar on Windows 10/11, you can try the recording software - iTop Screen Recorder which comes with a game mode with high performance.
Free Windows 10 Screen Recording Software
If the Windows 10 Game Bar Screen Recorder does not work or you want a screen recorder with more features, then you can try iTop Screen Recorder. It is designed to record your screen on Windows 10/ 8/ 8.1/7. Unlike Game Bar, it is compatible with all Windows PC despite your hardware.
With iTop Screen Recorder, you can select any area of your screen to record high-definition videos up to 4K without lagging on the frame. In addition, it offers 4 options to quickly select the recording area, Full Screen, Select Window, Fixed Ratio (4:3), and Fixed Ratio (16:9).
Besides, there are a few advanced features of iTop Screen Recorder worth mentioning:
- Record screen with audio. While recording, you can choose to record your microphone audio input. Therefore, it is a good choice to record zoom meeting or other online video conferences. Of course, you can also switch the system sound on or off while recording at any time.
- Take screenshots while recording. While recording, you can select any area to take a screenshot for quick share without affecting the screen recording.
- Record and edit in one place. After the recording ends, you could click Edit button to use the inbuilt video editing software to enhance your recordings.
- Multiple output formats. iTop Screen Recorder supports over 12 output formats so you can transfer the output video to any mainstream digital device. What’s more, you can use it to convert saved videos to another format if needed.
Now, let’s see how it works for the recording screens on Windows 10.
Step 1: Free Download and install iTop Screen Recorder on Windows 10 or a previous Windows operating system.
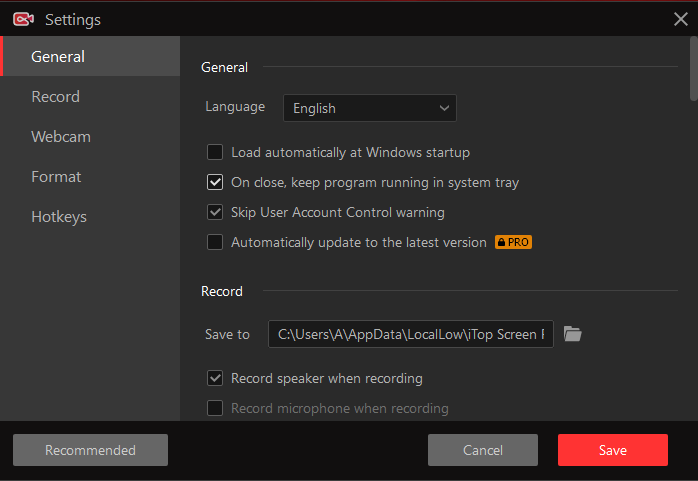
Step 3: After setting the preference up, you can click the red REC button to start recording. Alternatively, you can also press the hotkey F9 to start recording and F10 to pause the recording. By the way, you can specify the hotkeys yourself in the settings.

Step 4: When you want to end the recording, you can just press F9 or click the Stop button. Then the video will be saved automatically for you to edit or upload to social media or cloud drive.

Conclusion
Most people are inclined to seek built-in features on Windows when it comes to screen recording or other things. If the Game Bar screen recording tool works for you, it is convenient since you don’t need to install anything.
If you seek a more advanced screen recording software or Xbox Game Bar recording not working for you, iTop Screen Recorder is your best alternative. It is intuitive and compatible with all Windows versions. Try it free now to start recording your computer screen and discover more features.
Powered by Froala Editor


